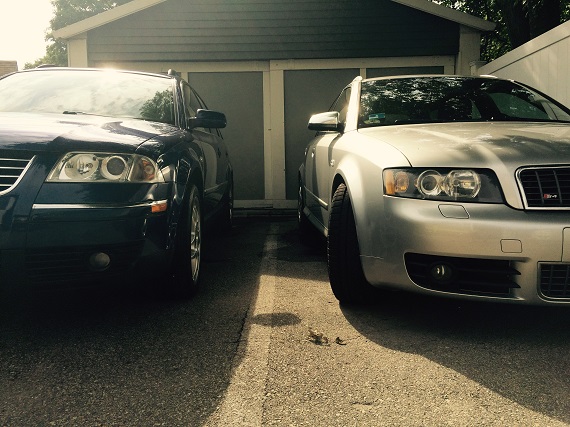
Recently I relayed to the group that a family member had bought a 2004 Audi S4 Avant 6-speed. It was with some excitement and trepidation that this car actually came into the family; after a long search through seemingly countless cars, my cousin finally found one that looked right. It was a silver over silver/black Alcantara 6-speed with just over 100,000 miles. 2004 isn’t the preferred year of the S4 Avant, nor does it have the reputation as being the most reliable Audi ever produced – but overall, it was priced right for what it was and he dived in. There were some exterior condition problems, though, and I offered my assistance with a detailed refresh; I thought it would help to show how you could take a reasonable but not exceptional example of a nice car and make it look pretty special. So, starting with a rather tired and tatty exterior, I dove in:
First the car needed a good wash, clay bar and identifying where the real problem areas were. The owner specifically wanted silver because even when dirty, it still looks pretty presentable. That made the task all the more hard, because unfortunately silver is also one of those colors that is very hard to make look exceptional. The Avants of this generation had some lovely details like the satin aluminum mirrors and rood rails which help; a little over a decade on, they showed serious signs of neglect and were nearly white. I wasn’t sure I’d be able to bring them back to life, but it was worth a shot. Additionally, the paint wasn’t horrible but it was pretty flat – clearly, no wax or polished had been applied in a long time. There were some surface scratches and general signs of neglect; noted and powered up with compound, I set about the task.
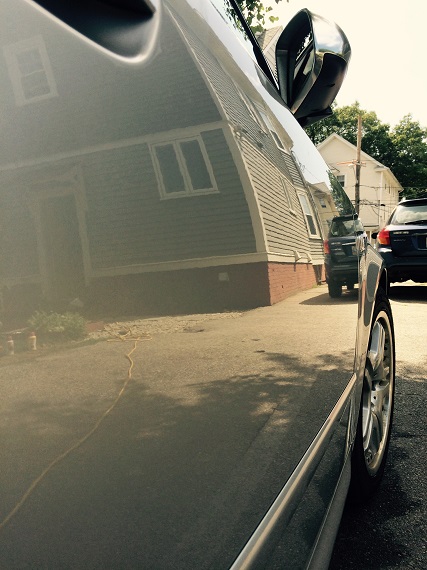
The results after the compound and polish were pretty good overall; the shine came back though it’s hard to see in the above photo. After two rounds of compound and two rounds of Griot’s Machine Polish 3, the paint had a pretty good luster:
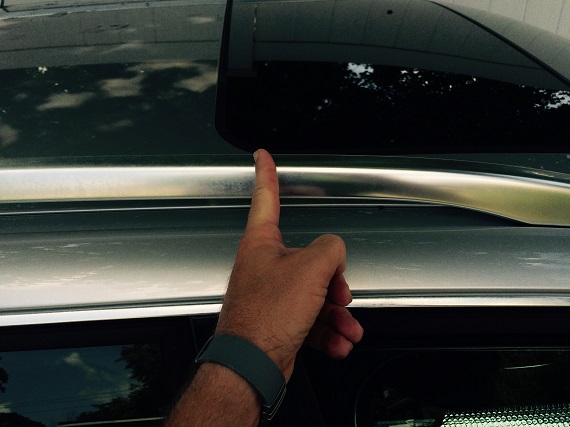
Now it was time to work on the trim, which I approached with some dread. As I said, I wasn’t sure if I could get it back and reading through the boards of owners that also had no luck, I wasn’t very confident. I approached first with just some wax to see if the white could be removed – it was ineffective. I stepped up to metal polish, and immediately the results improved. Lots of scrubbing later, the white was gone.
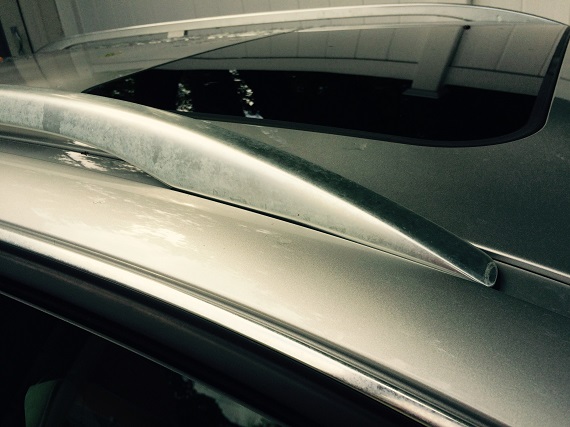
On the left, you can see the condition when it arrived, right of my finger is the treated area.
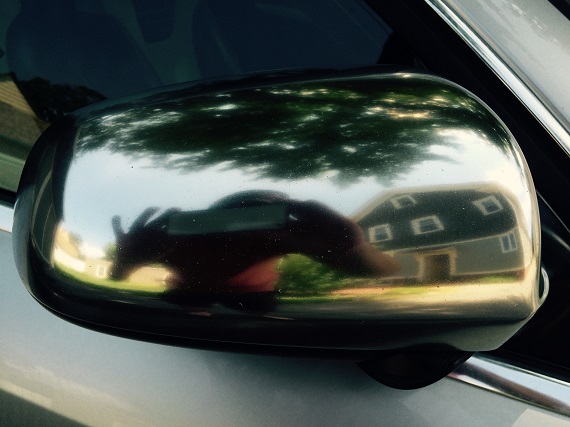
After the roof rails, I moved on to the mirrors which were similarly discolored.

After the Mother’s Metal Polish, I treated the trim like paint; compound, polish, wax and sealant – all from Griots, applied with their random orbital. The results were significantly better than what I was hoping for, and not only were they polished but they now had a layer of protection.
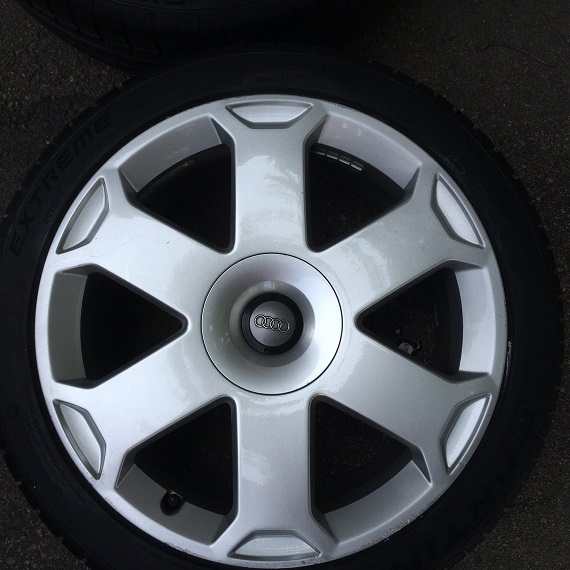
I moved on to the original Avus wheels. They had come with mismatching tires and in round but poor condition. First order was getting some decent tires, and my cousin selected some nice Continentals to dress up the ride. But there were still a fair amount of surface scratches, built up brake dust and curbing. There were two options; completely refinish the wheels, or to try to lightly restore them. I suggested that we go with option two, and if that didn’t suffice we’d revisit over the winter. Even after heavy cleaning, they still looked pretty rough:
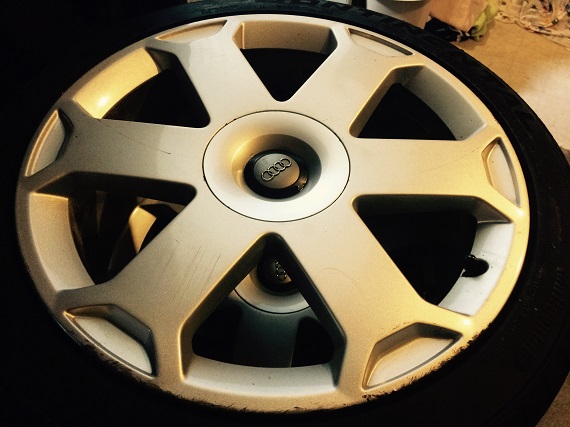
Back to the random orbital and once again loaded with compound, I attacked the wheels. Once compounded out, I polished and then touched up the curbed areas with Einzetts silver paint. It was a strategy I had used on my BBS wheels and had overall worked well. Look closely, and you can still see the curbing, but back away and they looked almost new.
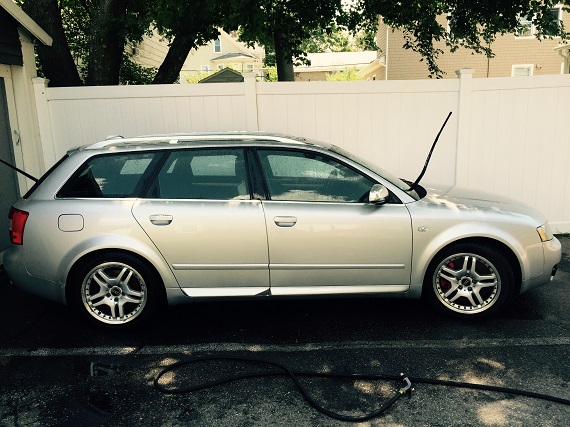
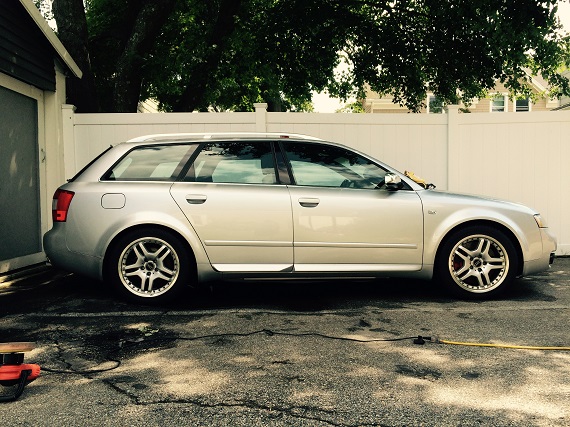
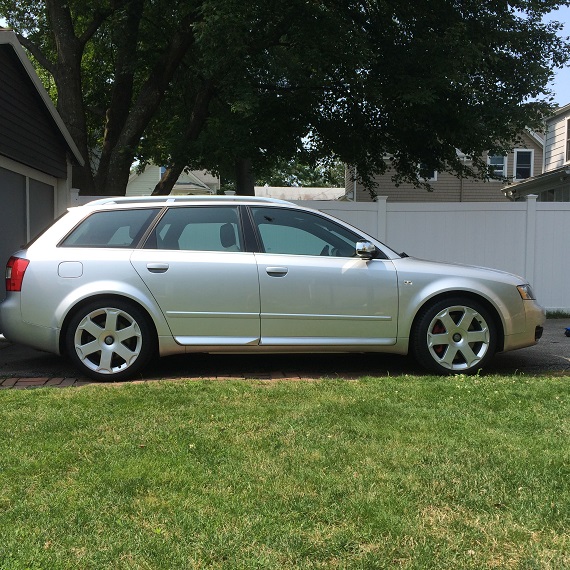
I mounted the wheels up on the car and the look was instantly transformed. The AT Italia winter wheels have a meaty and neat look of their own, mimicking some AMG wheels – but those original 18″ Avus wheels really make the package look special. A final coat of polish and sealant over the wax and the car really popped:
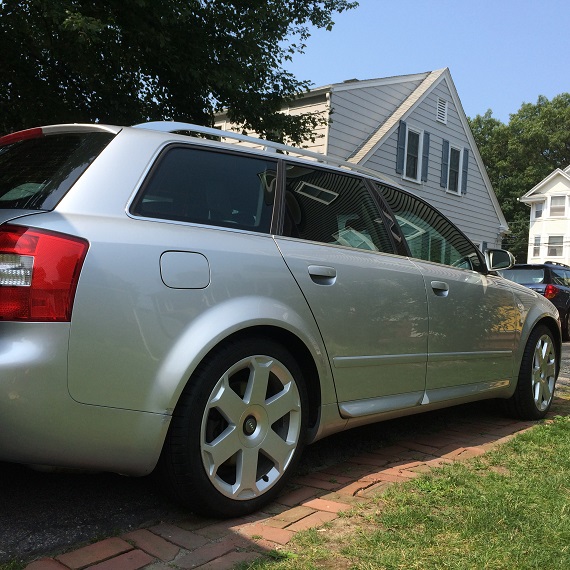
There were some condition issues I wasn’t able to address; you’ll notice a small dent behind the rear wheel and in the process of polishing out I found some bodywork that had been done in a semi-acceptable manner in the back driver’s corner. Overall, though, the car presented much better and looked thoroughly refreshed. Most of the surface scratching was gone and I was able to touch up a few chipped areas that were beginning to rust.
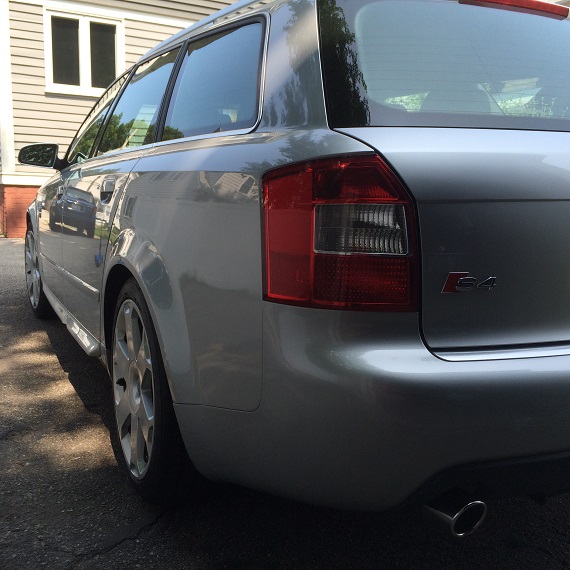
The last bit was polishing out the head and taillights, along with detailing the trim and a quick polish to the exhaust tips. For the time being, the job was done; but I didn’t get the nooks and crannies, nor the door jambs or under the hood. Overall the interior was pretty clean but there’s more to be done inside. It was time, though, to return the Avant to the proud new owner and let his journey begin!
-Carter
Having seen the car in person before and after, it was an amazing transformation.
About how long did this take you? I have to do some very similar work to my pearl B5 avant
@Aaron, total time was roughly 12 hours including wheels and rails.
Nice transformation!
Please give us a write up on phase 2. I would like to see your technique for cleaning the engine bay.
These are some of my favorite articles on the site… makes me miss my Nogaro B6 Avant.