Some time ago, I picked up a set of BBS RS wheels for my Audi Coupe GT. I’ve always been a big fan of BBS wheels, and of course by 1980s standards, the RS is the Holy Grail of road wheels. They have an accompanying price to go along with their desirability, however, as most clean sets will easily set you back over $1,000 dollars. When you factor in the number of sets that are available in the Audi Coupe’s 4x108mm bolt pattern, there just aren’t many options. However, SPG SAABS had the same bolt pattern and were available with 15×7 BBS RSs from the factory. What I was able to track down was a set of just those wheels, in original and un-modified shape. That was a plus to me, because I’m honestly not a fan of the overly polished or crazy colored BBSs, so finding an original set what great. Unfortunately, that meant they also had 25 years of wear on them, and in many areas – especially the center caps – they looked quite tired. I mulled over what to do for years, between sourcing replacements, having the wheels refinished, or just trying it myself. And to be honest, although there were many “DIY” BBS RS rebuild threads, I wanted to see if I could refresh these overall clean RSs that just needed some love without pulling them apart. So over the next few weeks I’ll do my best to chronicle the cleanup. I started with the center caps, replete with peeling, pitted and corroded clearcoat:
Starting with some 250 grit sandpaper, I began sanding down the edges. On this particular cap, the clearcoat came off quite quickly and easily. For various reasons, I didn’t want to use chemical strippers – the back of the RS159 caps are plastic for one, and I didn’t want to damage that original plastic. For two, I wanted to keep the original two-tone coloring of the center caps – the flat areas of the hex are painted silver, not clear/machined, and I wanted to keep that. That made sanding a bit more laborious, but I tried hard to take my time:
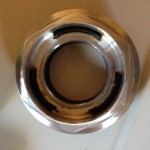
I moved steadily down in grit until I did I final wet sand with 2000 grit sandpaper. In all, I went through 4 different grits to get to that point. I also utilized a sanding pad combination for the wetsand that I had gotten in a 3M headlight restoration kit. This attached to my electric drill but wasn’t so powerful as to burn or overscore the metal. Again, it was time consuming but worked well.
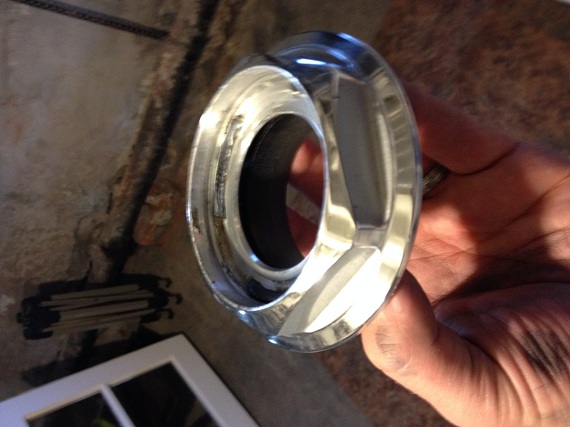
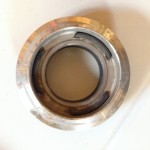
After the wetsand, I moved on to compound, utilizing 3M compound on the entire cap. Finally, I used Mother’s Metal Polish on the cap, and though there were some minor scratches remaining, all in all it came out much better than it previously had been:
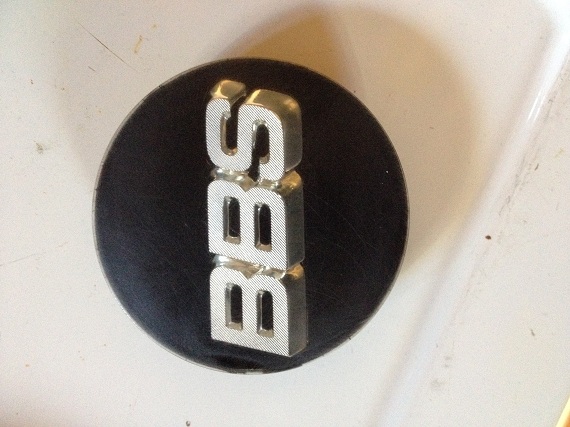
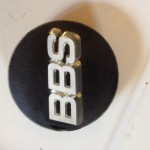
At that point, I moved on to the BBS logo cap. This particular cap had a sizable gash in it; again, I started with a heavy grit sandpaper to bring it down. The plastic obviously heats up more quickly (and melts) compared to the metal, so I had to be a bit more careful. A few passes with the heavy grit got the cap down to below the scratch level, leaving a rough matte finish:
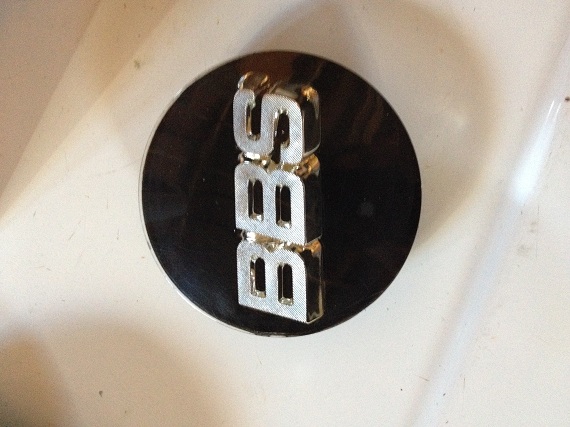
Just like with I had done with headlights previously, lots of wetsanding and then compounding bought the cap back to life. Especially with the plastic, making sure the paper was wet was really critical as well as cleaning the surface and paper often to get a good finish. I actually put a piece of 2000 grit paper in my hand and used the drill to rotate the cap, which allowed me to manipulate the areas of pressure a little better.
Finally, I really like Meguire’s Plastix as a polish and finished it off with that.
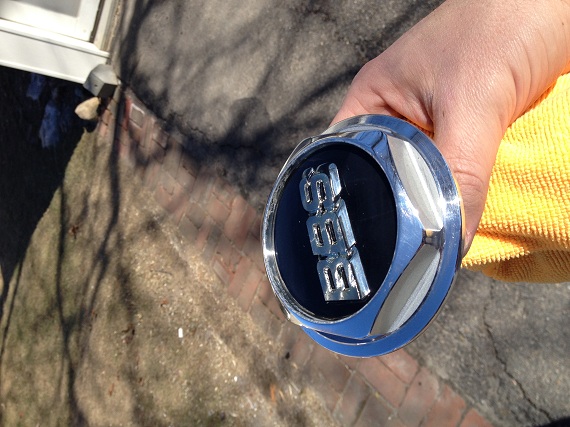
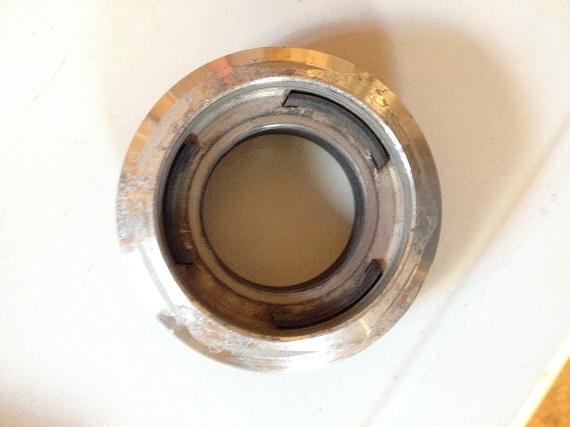
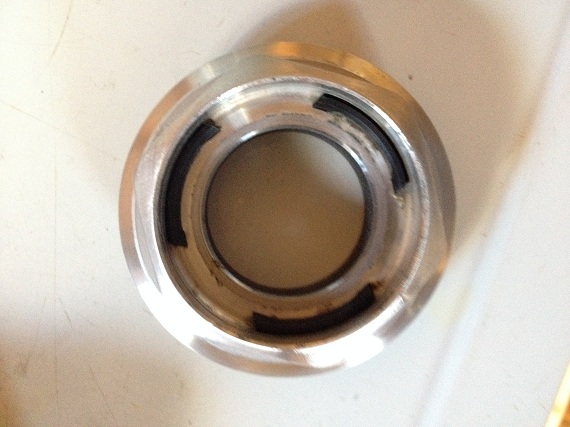
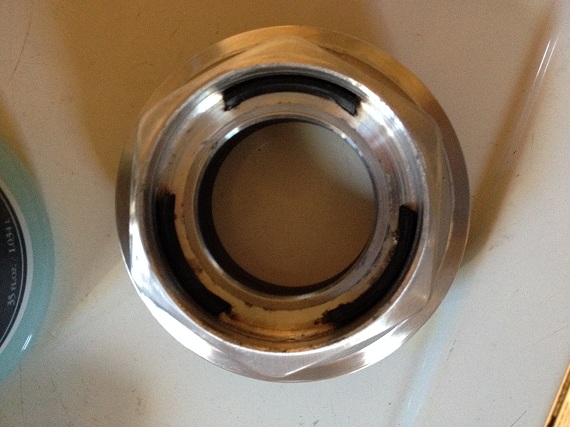
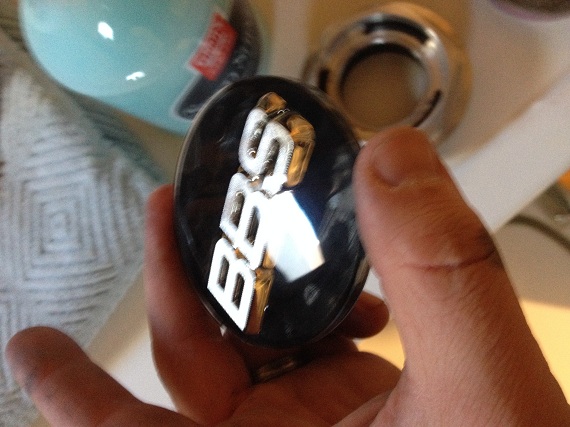
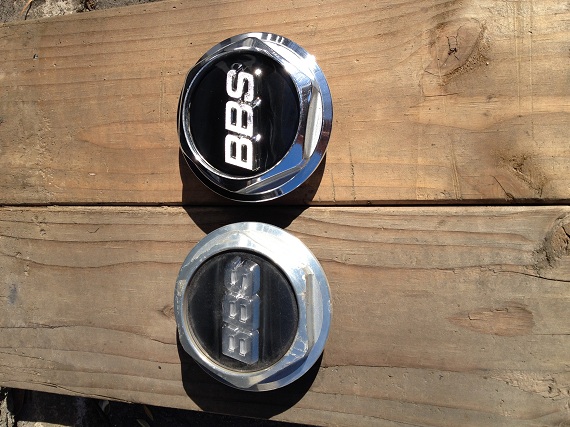
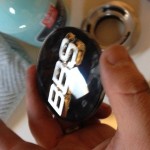
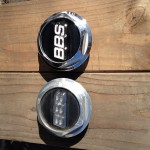
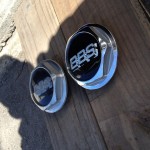
After that, a quick click together and the cap was ready to remount. As I said, I’m not a fan of the over-polished look, so this was just the right amount of pop in my mind and fixed the serious clearcoat issue. As a comparison, you can see a before and after here:
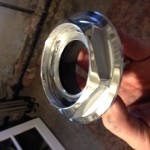
Not all of the caps had the clearcoat come off quite as easily as this one did, but I’m still glad I didn’t use chemicals. Polishing the caps by hand is certainly time consuming, but the results are impressive and I’m glad I kept the original parts instead of just replacing. Next on the list are the waffle centers, a few of which have paint failure. They’ll be covered in the next installment!
-Carter
@Carter nicely done! and explained well……You have lots of time on your hands????….LOL
I too have a soft spot for BBS wheels RGR’s on my E36 M3, CH’s on my E92 and LM’s on the E39….
VERY nice work Carter. Love these kind of write-ups…keep them coming!
Good reference material! Really cleaned up nicely.
Thanks for the feedback and encouragement, we’re doing our best. MDriver, I wish I had more!